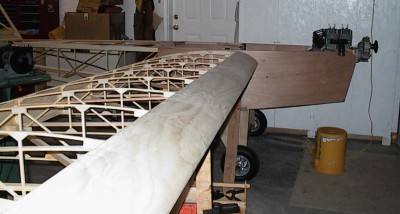
| The process of setting the wings is a fun one! You start by attaching the wings through the fuselage
and pinning them in place. |
 |
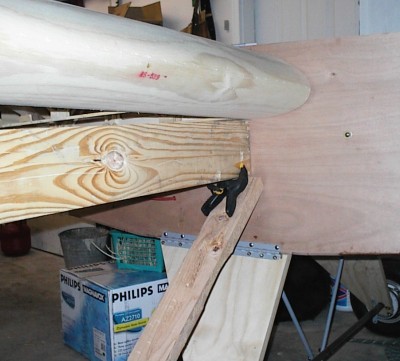
| This is the board attachment that I used to generate a level line out from the fuselage. |
 |
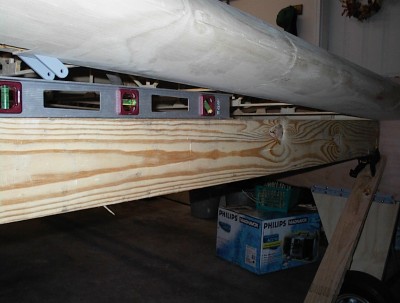
| Next you level the board so that you can measure up from it to determine the dihederal of the wing. |
 |
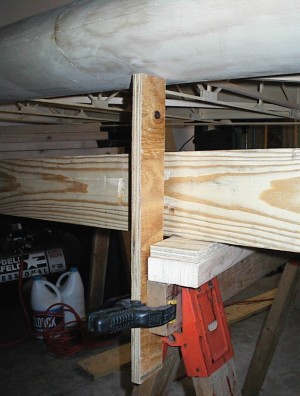
| You need some type of temporary brace to level the wing in it's new location relative to the level
board. |
 |
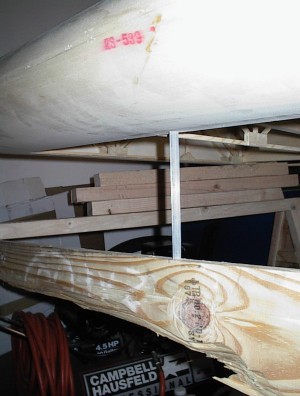
| I made this small aluminum stick that is exactly the right height to generate the 3 degrees of dihederal
at 10 feet out from the fuselage. By using the same stick on both sides of the plane it all comes out the same! |
 |
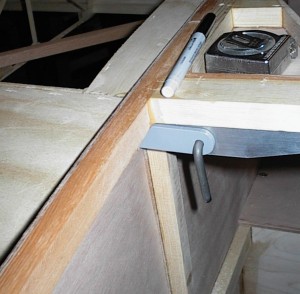
| Here is the front spar carythrough fitting and pin to hold the wing straps on. |
 |
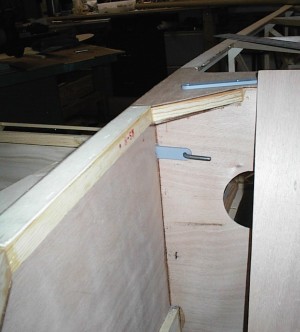
| And this is the rear wing attachment point. |
 |
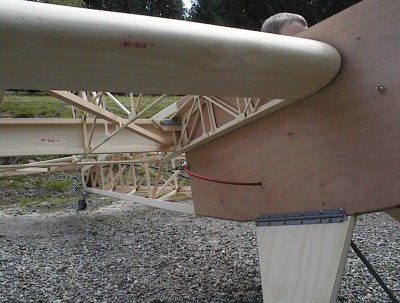
| Ah first wing attached and rigged. |
 |
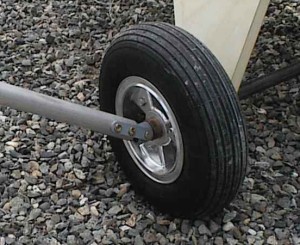
| Here is the axle detail of the strut attachment. |
 |
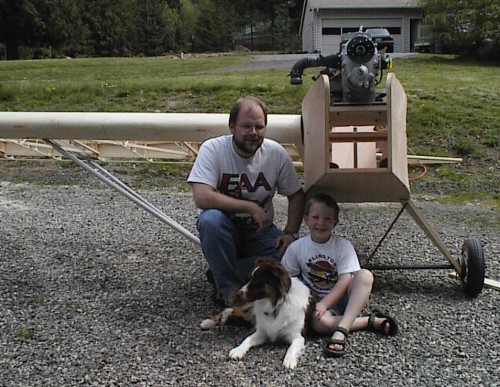
| The Airplane builders take a break after fitting the first wing. Just one more to go... (it was
eaiser after the learnings that went on with the first one) |
 |


