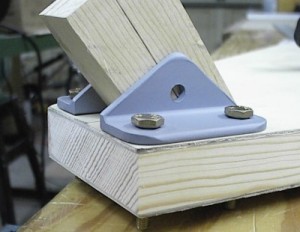
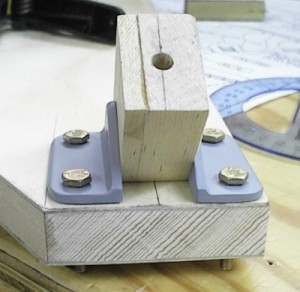
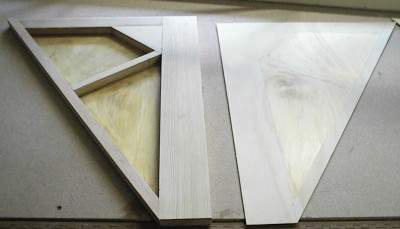
| Here is the interior of one of the landing gear legs. After it is assembled you need to varnish
the inside of this structure before you close it all up. |
|
 |
| Finally the finished landing gear! Now this is looking like an airplane! |
 |
| It's almost time to put it right side up on the gear! It won't be long now till the flight's of
fancy start in the garage. |
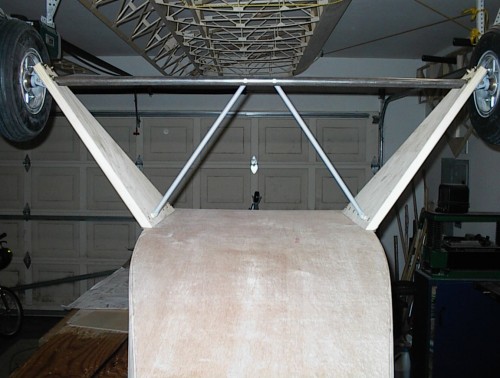 |
| This is the center support attachment that keeps the gear from bending from side to side. |
 |
| Notice the small bushings that keep the wheels in the right place against the gear legs. |
 |
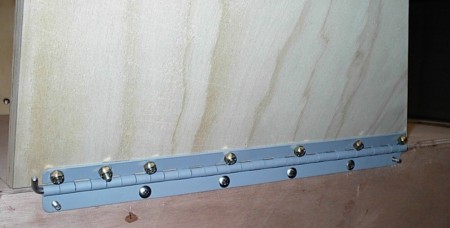
| This is the gear hinge that attached to the bottom of the fuselage. You can pull the gear from the
fuselage by pulling the 2 hinge pins out. Don't worry they are very stiff and won't just fall out! |
 |
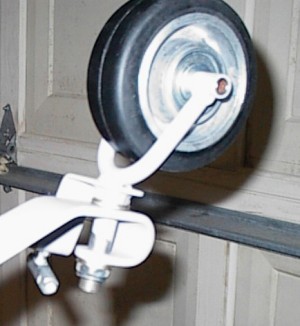
| Here is the new style tail wheel that TEAM is supplying these days. It is a much improved part from
the original design and I am glad that they updated the kit with this part. |
 |
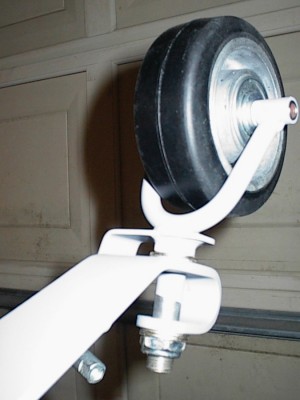
| Notice it now has dual forks and a nice axle along with a nice bent steel spring leaf instead of
an aluminum one. |
 |
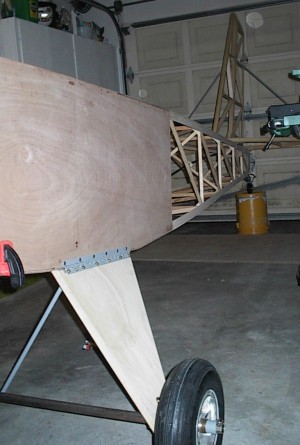
| Finally here is the fuselage on the Gear! |
 |


