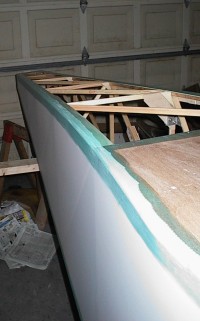
| Here is the fuselage being layed out with the bottom
covered. |
 |
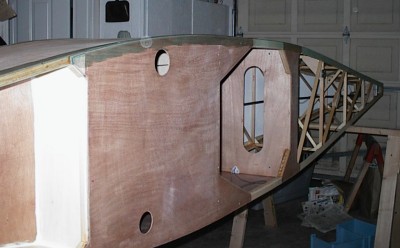
| All Sanded and ready for cover. |
 |
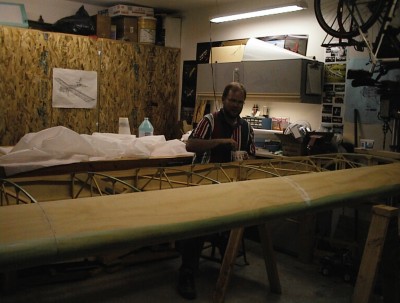
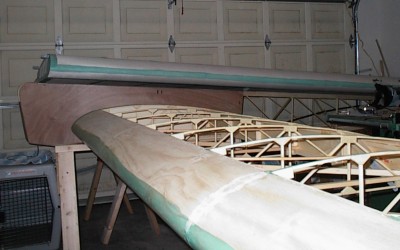
| The master gule artist getting ready to paint green goo
all over that nice varnished wing! |
 |
| Every little spot needs covered or the fabric won't hold
down. |
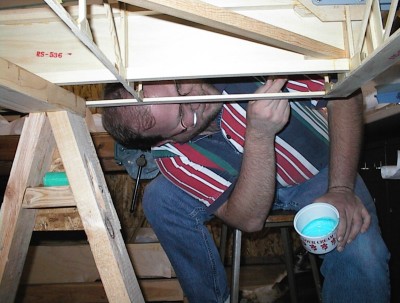 |
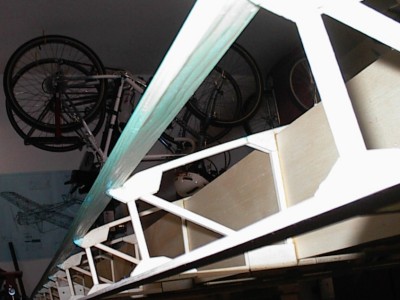
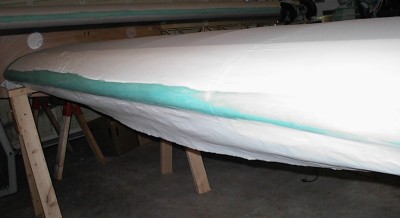
| Don't forget the undersides! |
 |
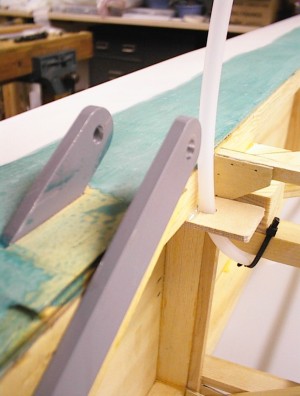
| This is how I routed my pitot tube out of the wing. It
hooks up to the strut here at this fitting. |
 |
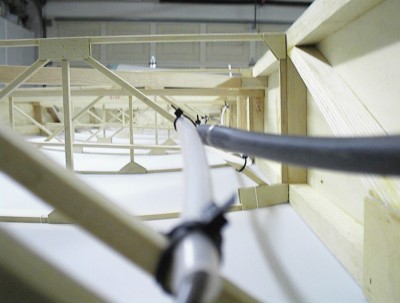
| Here the pitot line & the hose with the strobe wire
are routed down the wing. |
 |
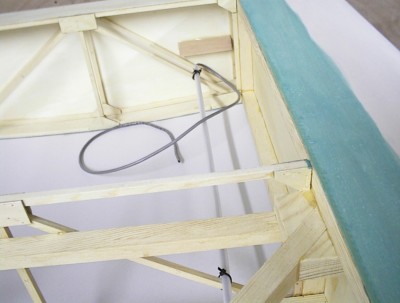
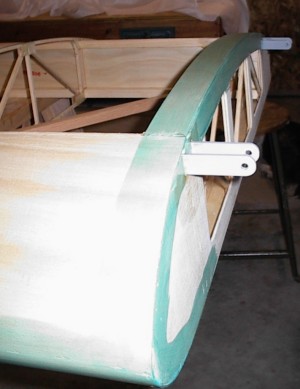
| This is the other end of the strobe wire where it exits
the wing tip. The hose allows the replacement of the wire in the future
without having to tear down the wing. |
 |
| 1 wing done, 1 to go... |
 |
| First I started with the top surface. |
 |
| This is the root end of the wing with the plywood cut
out. |
 |
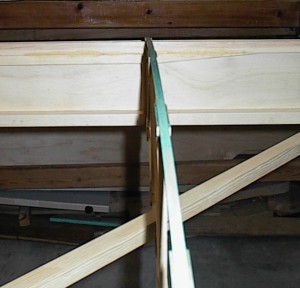
| Don't forget to glue the rib caps first! |
 |
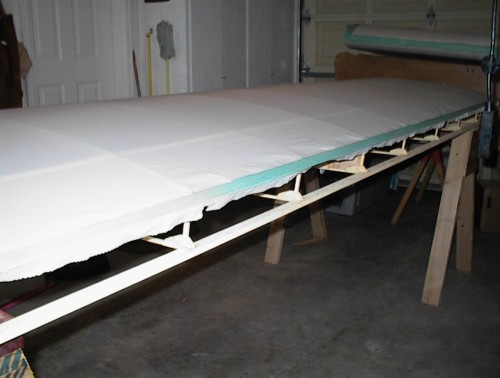
| Here the wing is about to be shrunk and finished off
before stitching. |
 |
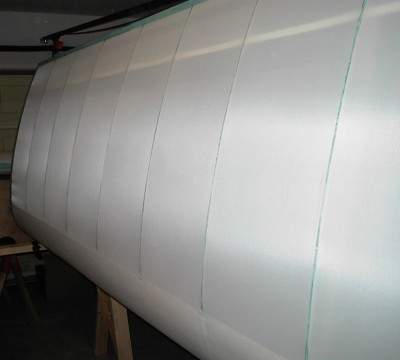
| First iron down all the rib caps once the final shrink is
done. |
 |
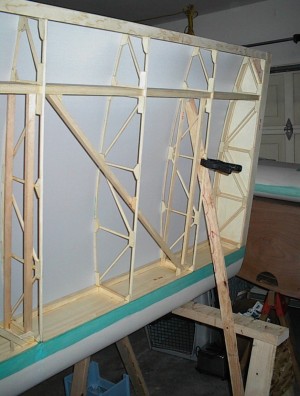
| This is my rib stitch jig. I braced the wing up so it
would be easy to get to both sides and stitch the tops of the ribs. |
 |
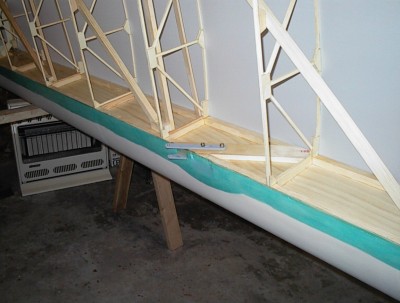
| Another view. |
 |
| Here is the rib stitching knotts holding on the top skin.
I used the FAA standard practices manual to learn the standard rib stitch
knott patterns. |
 |
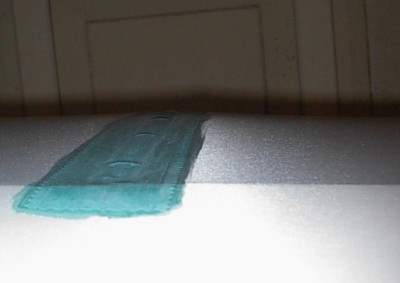
| Then you put finishing tape over the tops of the stitches
to clean it up. |
 |
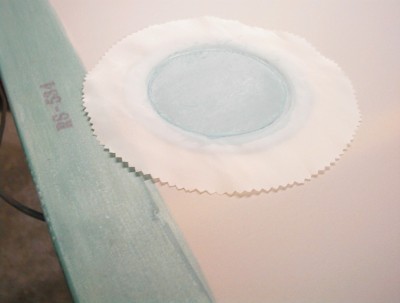
| Here is an inspection ring and cover going on. This area
has 2 layers of fabric to reinforce it for the ring to be cut out later. |
 |
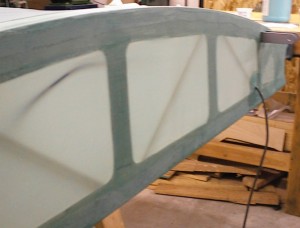
| The root end of the wing with the strobe wire hanging
out. |
 |
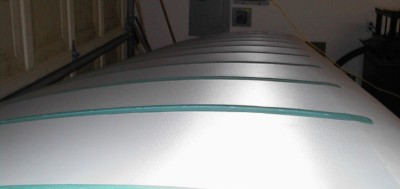
| All the rib stitching done with the tapes in place. |
 |
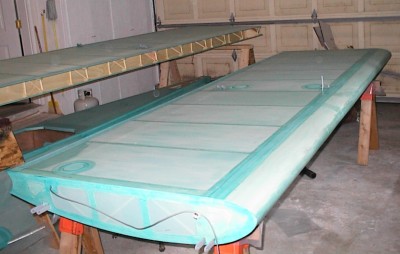
| Here are the finished wings after sealing the fabric
weave with cecobond. |
 |
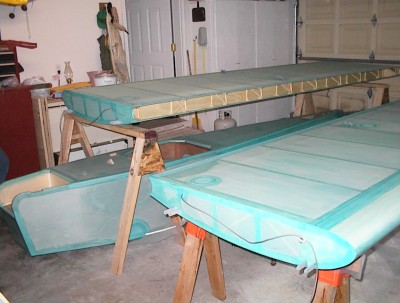
| Another veiw. |
 |


